Slab Reinforcement with SBeXpress
You can watch the tutorial on YouTube; the steps below will explain the content in more detail.
Initial steps
To begin, open start_bare.dwg, or draw an arbitrary polyline.
Go to SB-FORMWORK tab, and select convert entities to contour, select the polyline, and press ENTER!
Laying rebars
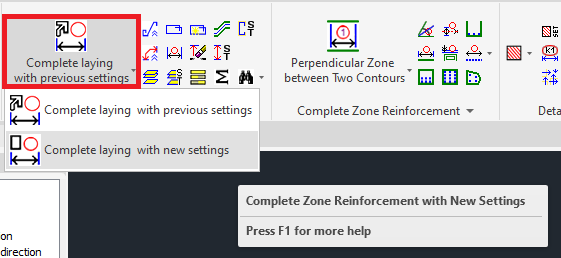
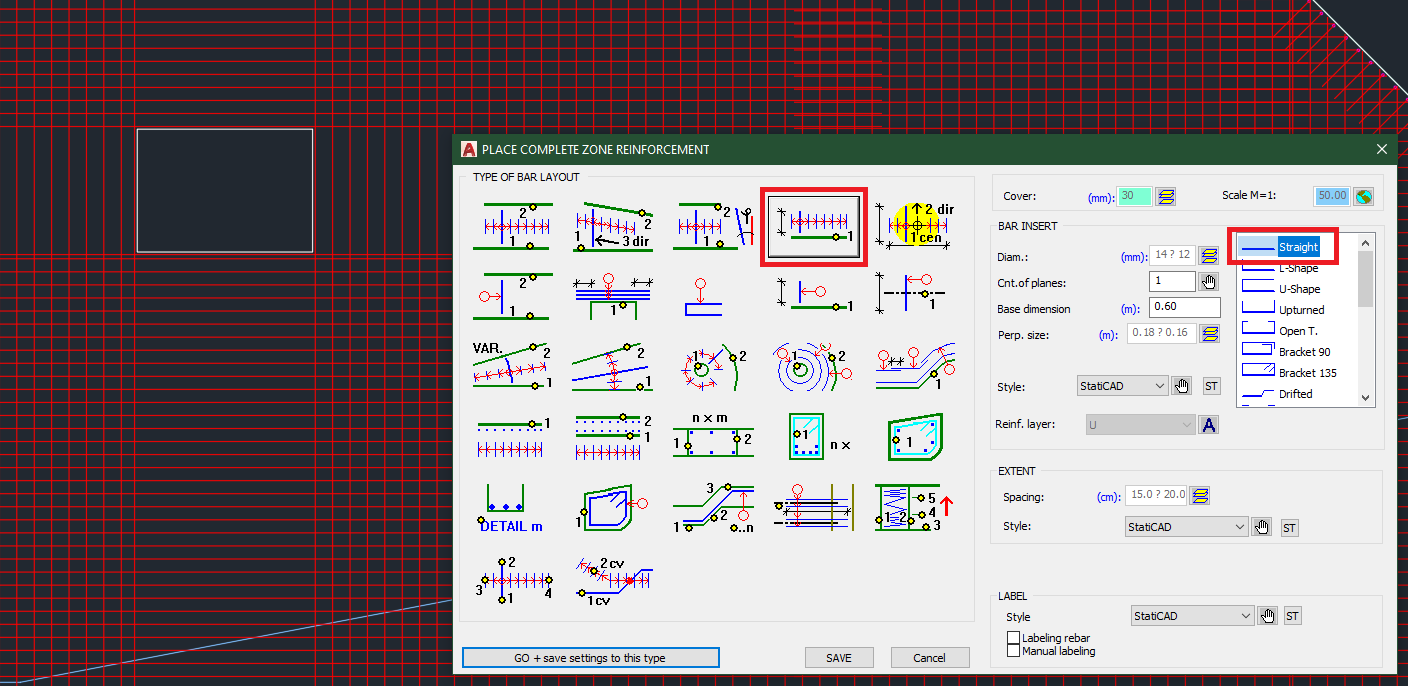
Go to SB-Desktop tab, select the Complete laying option, and Choose Complete laying with new settings!
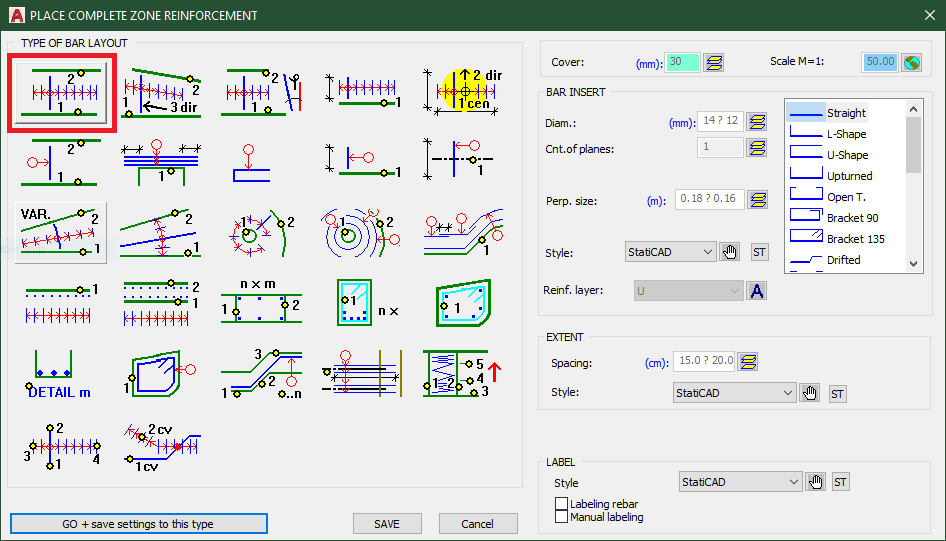
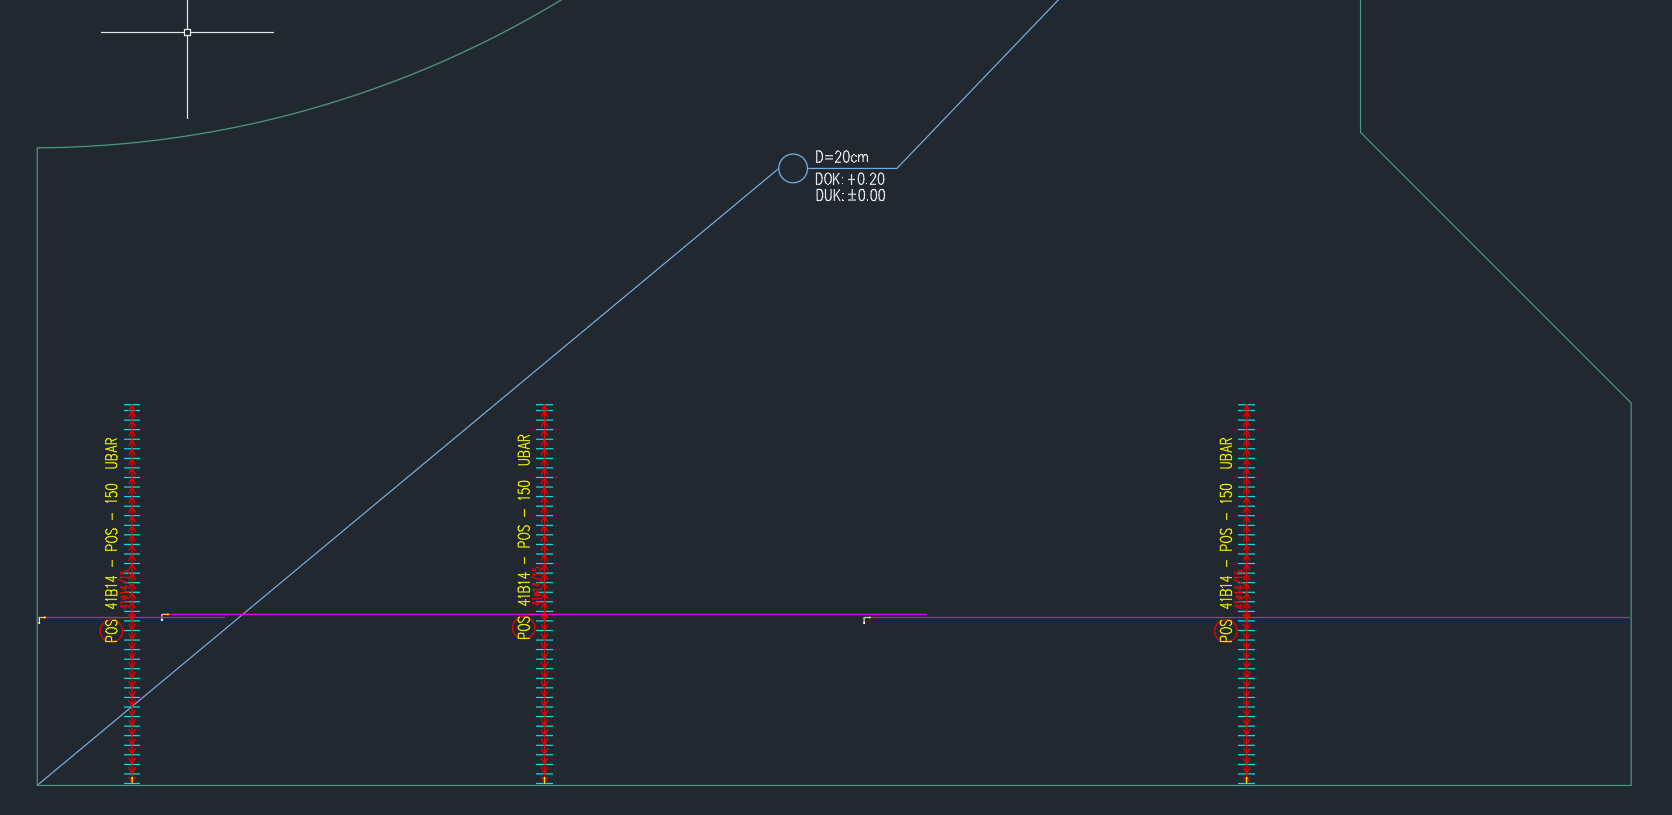
Select the first bar layout! Note the settings panel on the right side. Here, we'll leave everything on default, but feel free to play around with these.
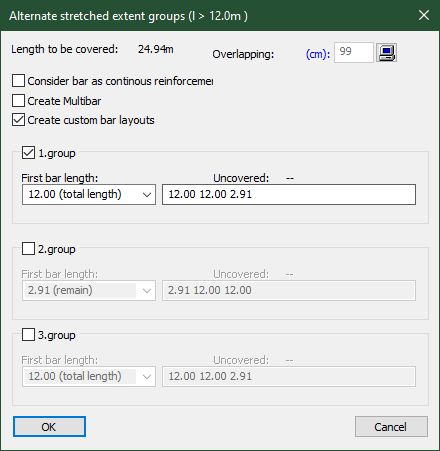
Now select the two edges of the slab you want to place the bars between. A dialog will pop up, where you can set additional settings for this specific layout, like overlap, when the area must be covered by multiple layouts due to length restrictions.
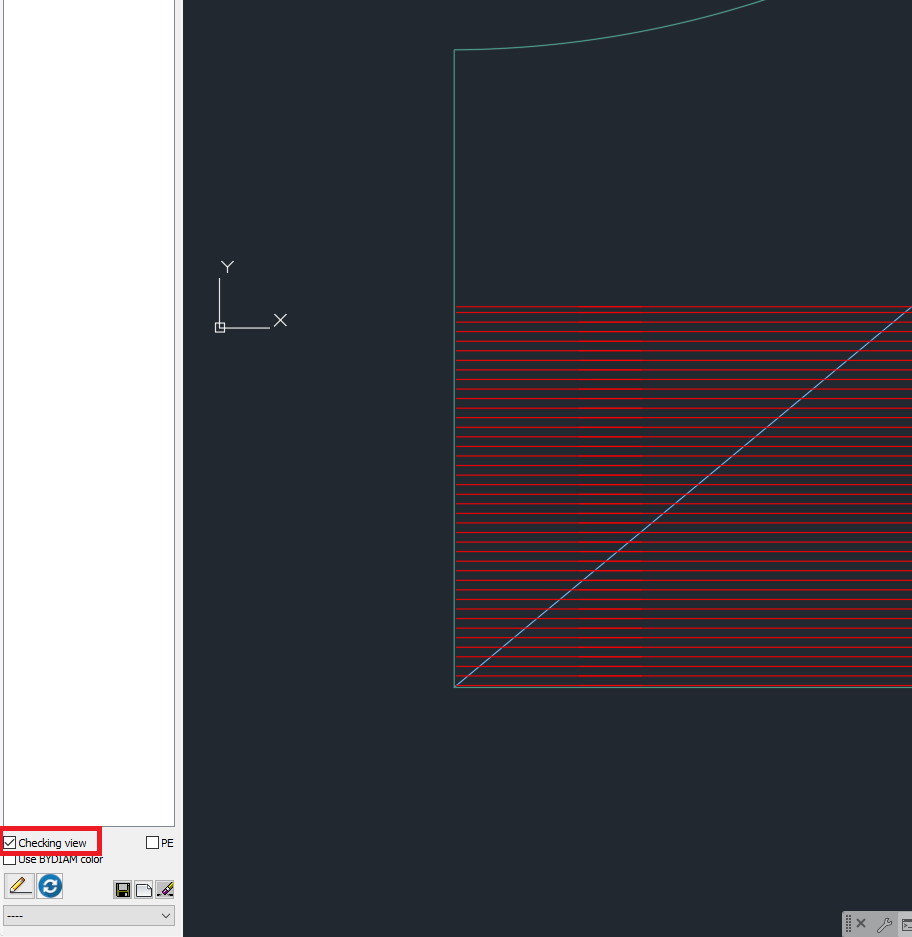
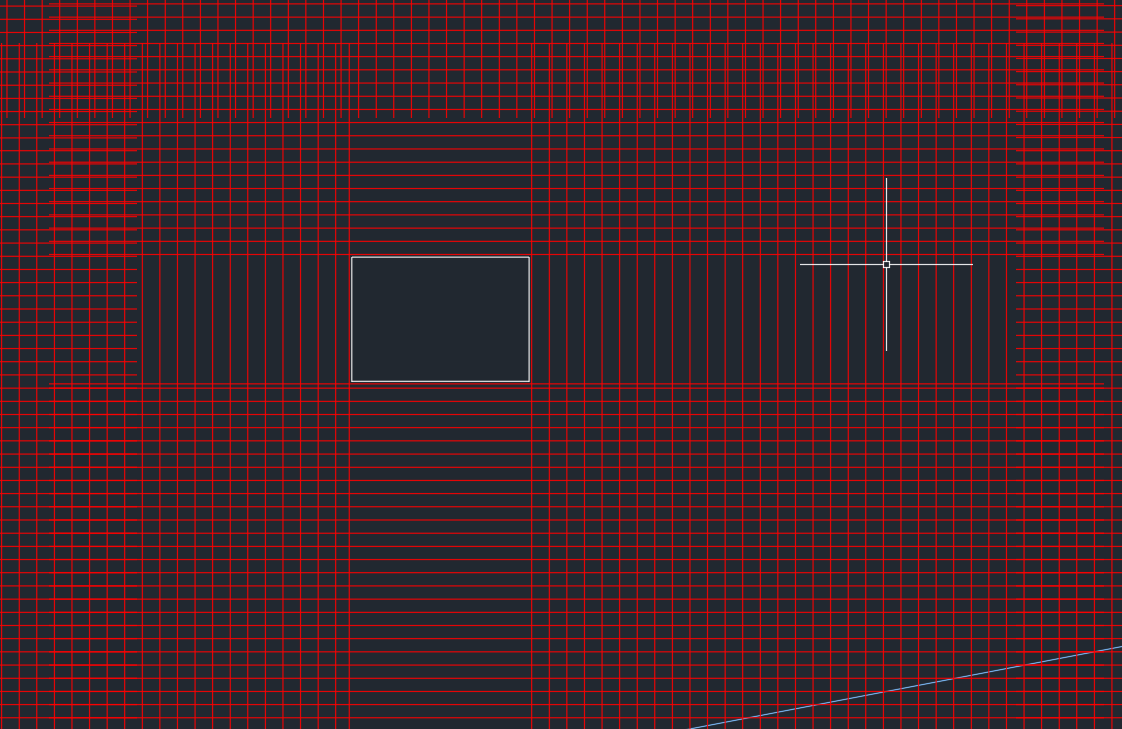
Activate the checking view to see each individual rebar:
Cover the entire area by stretching, copying, and moving already existing layouts and create new ones if you wish.
Some important things to note:
1. When you stretch a rebar to the edge, the concrete cover will be included as a gap between the end of the bar and the slab contour.
2. When you stretch a rebar to another parallel one, you can set the overlap amount.
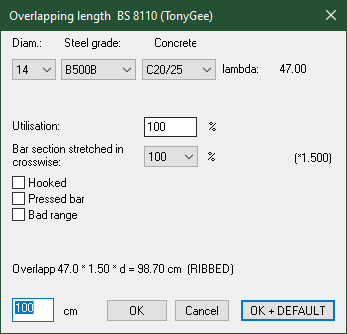
3. When you stretch the rebar to a non-parallel slab edge, you will be prompted whether you want to create varying length rebars. This is a simple way to cover the edge.
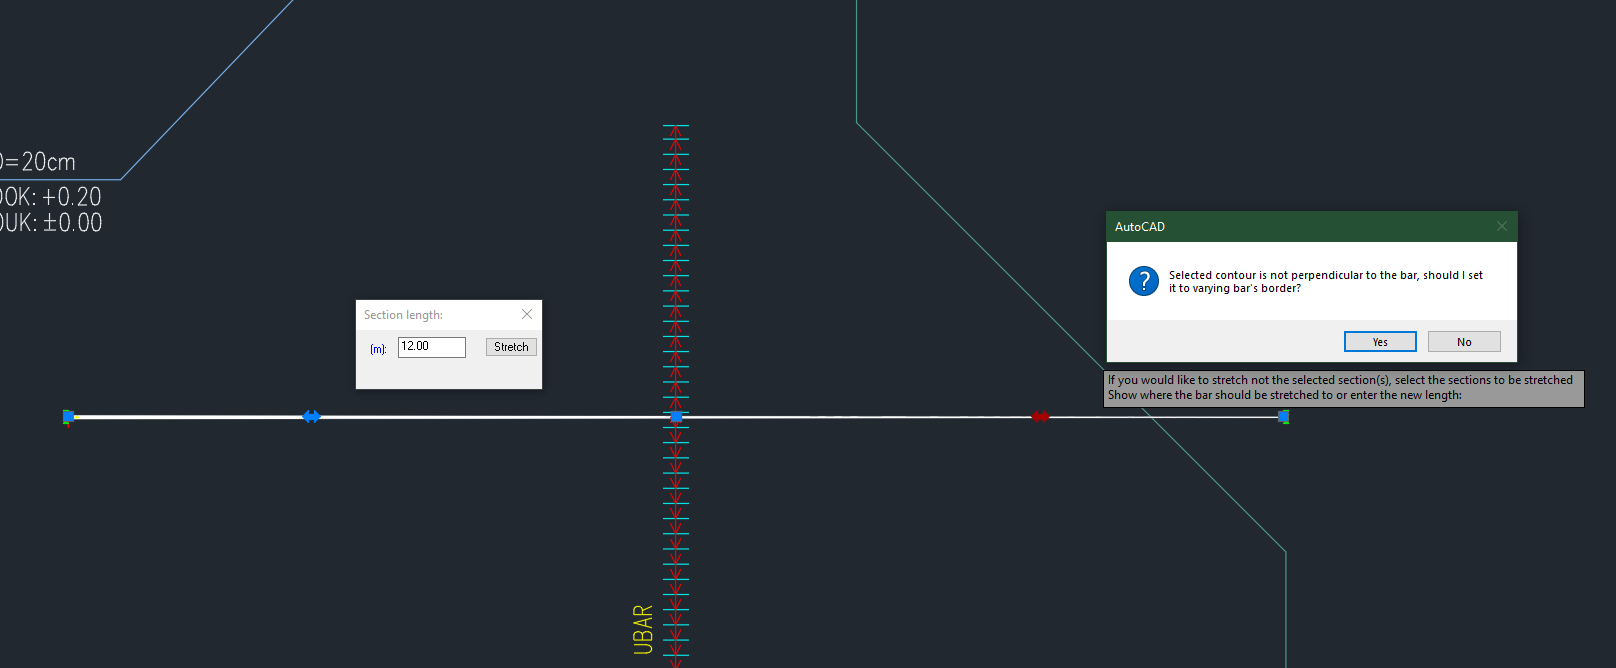
The result will be like this:
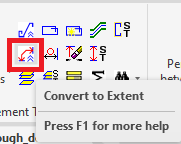
4. Extents must intersect with their respective rebars; you can stretch these to other extents or contour edges as well!
U-bar placement
To place U-bars, set the U layer active at the Bottom reinforcement layer group, and use the 4th bar layout. U-shaped rebars are the default option here. Pick all the contour edges you want to distribute U bars along!
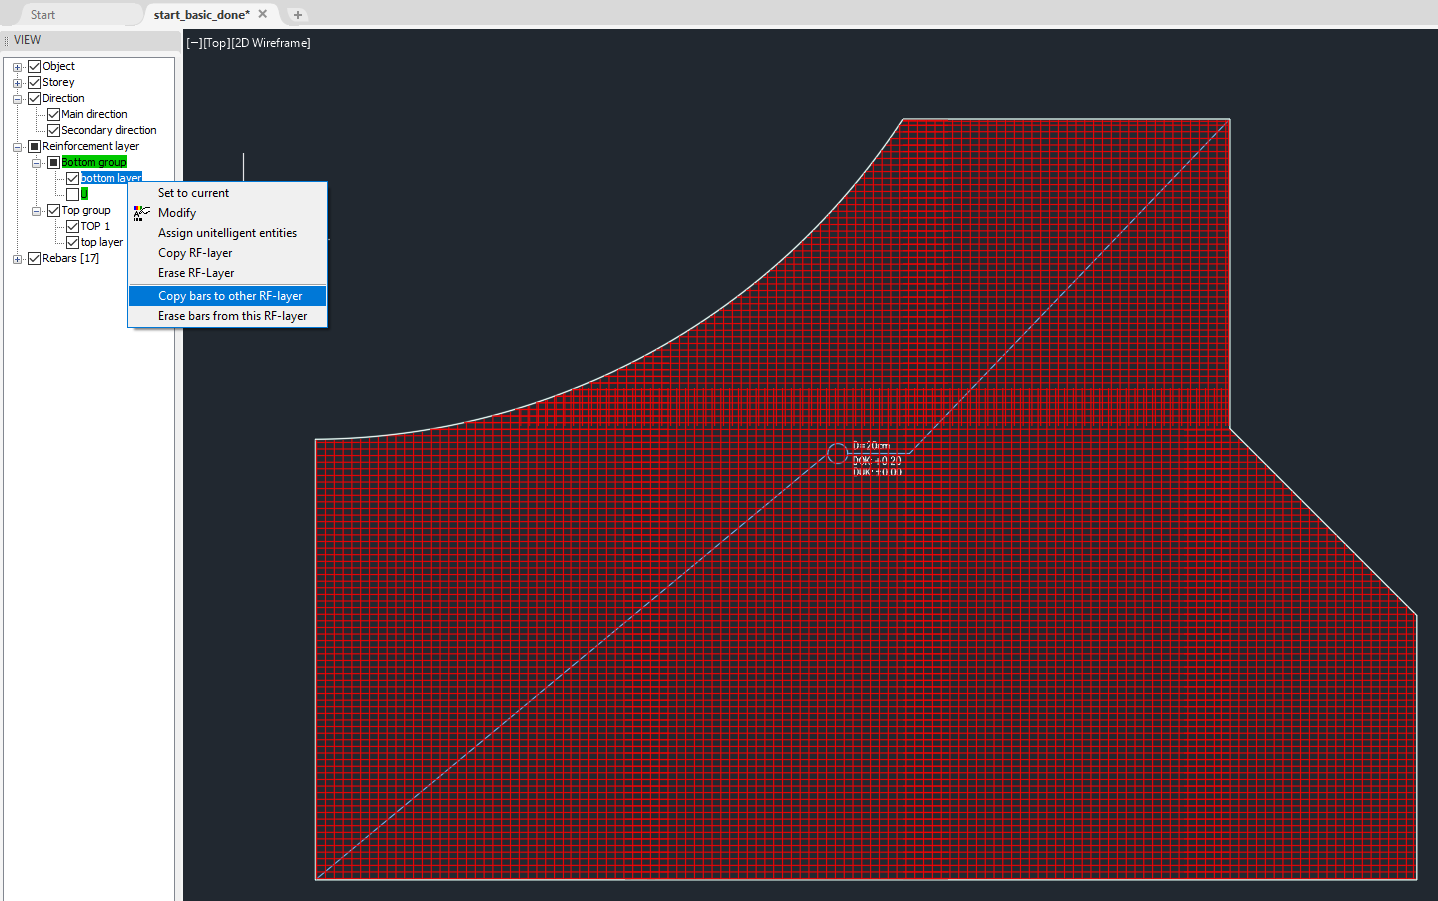
You can copy the bottom reinforcement to the top layer by right-clicking on the layer and selecting copy bars to other RF-layer, then select the top layer.
Modifications
You can still change the slab shape by grabbing the edges, along with the reinforcement, and stretching.
When there are modified edge-angles in the contour, you must redo the U bars along those.
Slab breakthrough
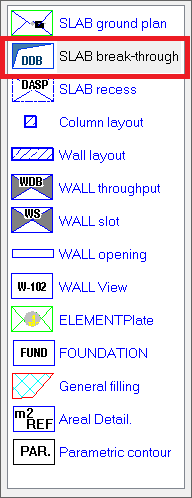
Create a breakthrough by drawing its shape on the plan, then convert it to a breakthrough the same way as with the slab, but this time select SLAB-breakthrough on the menu.
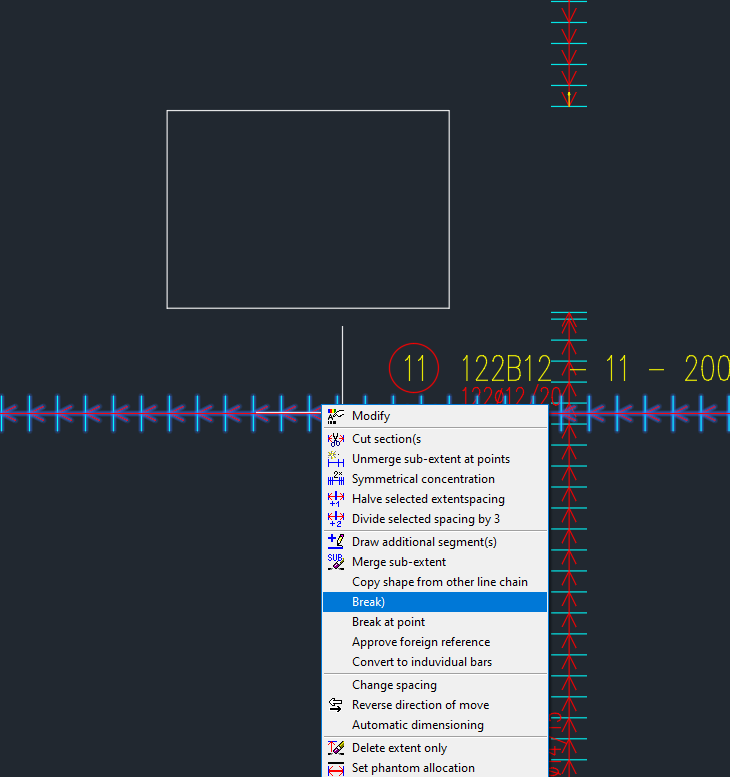
Existing reinforcement is intersecting with the breakthrough. You can fix this by breaking all the extents and rebars in the way.
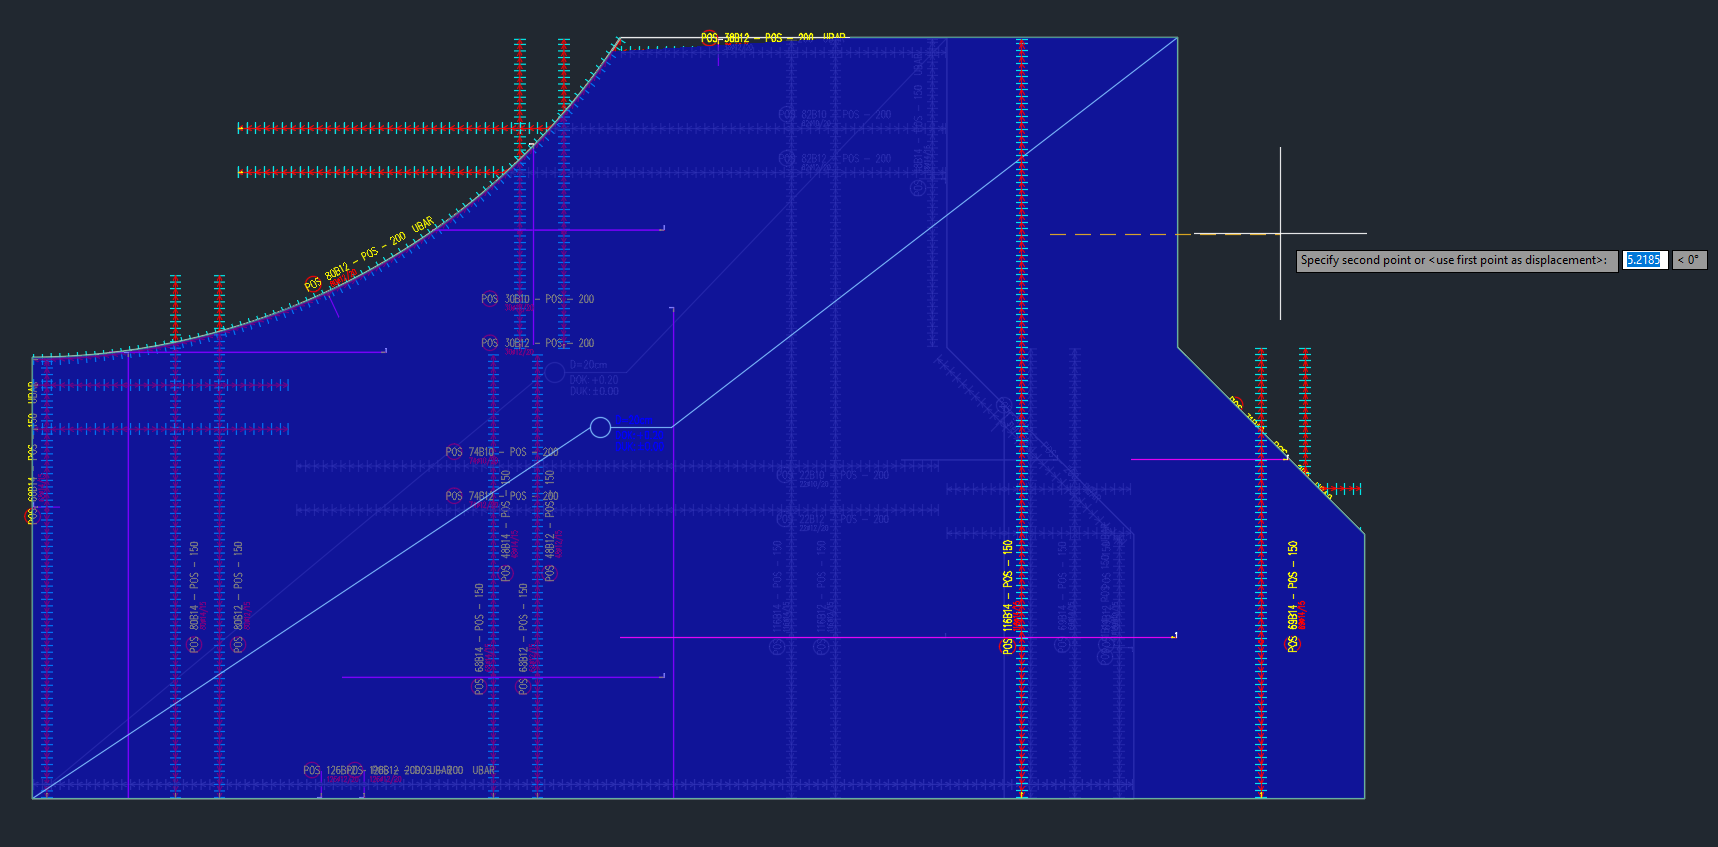
Now there are gaps we have to cover. One simple method is to select the 4th laying method again, but this time set the bars to be straight and go over all the edges of the breakthrough.
After this stretch the bars to the correct length.
The result must look like this:

Custom shaped rebars
To place custom-shaped rebars, draw a polyline representing the desired rebar profile.

Go to SB-Desktop and convert the polyline into a rebar with the Convert to Rebar command.
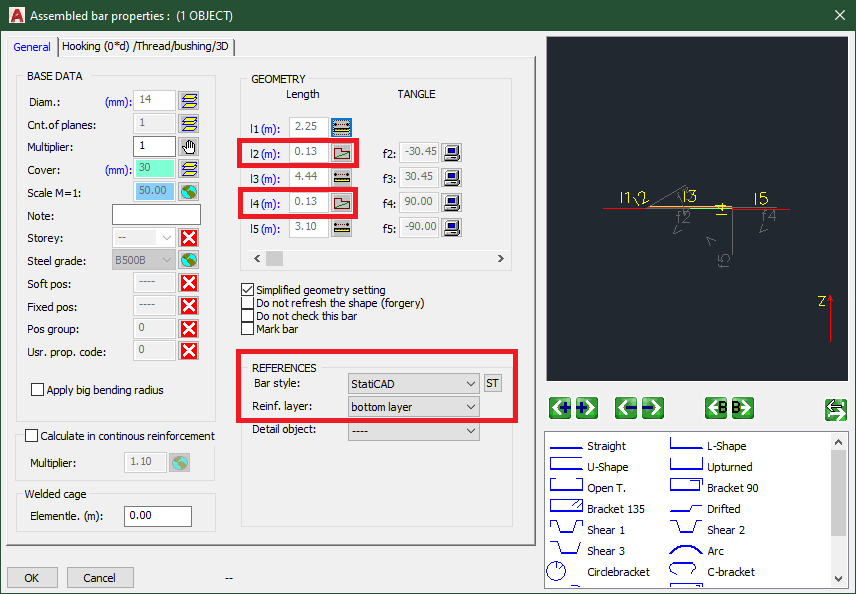
You can edit the rebar with CTRL+Click; here, for example, I set the 2 vertical sections to be derived from slab height, so it fits into the slab. Proportions will be preserved.
I also set the style and layer properties to match with the already existing rebars.
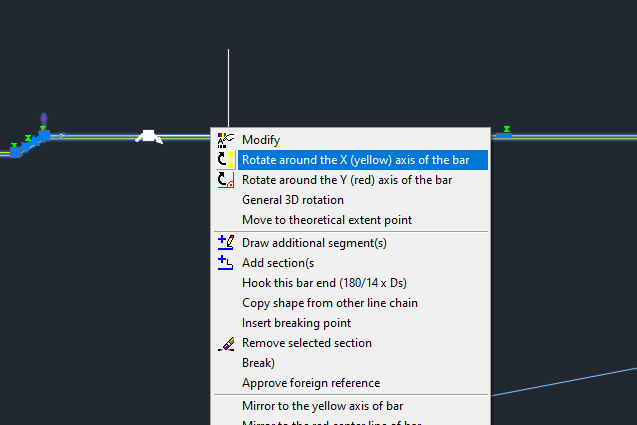
You can stretch the bar at the drawing plane to have the correct overlap with its neighbors.
After that, rotate it around the yellow axis.
Rebar bending schedule
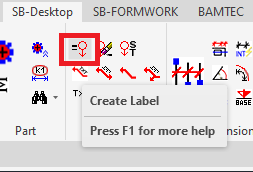
Create a rebar bending schedule with the Summarize command.

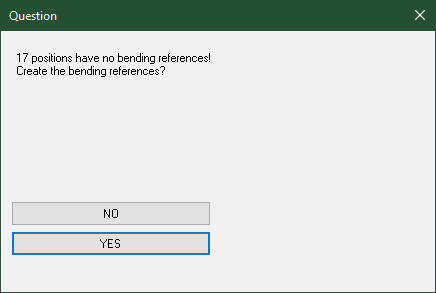
Place the table; then, you will be asked whether you want to place all the non-existing references.
Any suspicious errors (like too long rebars or missing labels) will be highlighted, and you may choose to fix them.